You can publish a DITA map to the Astoria Portal.
- Right-click a DITA map and select
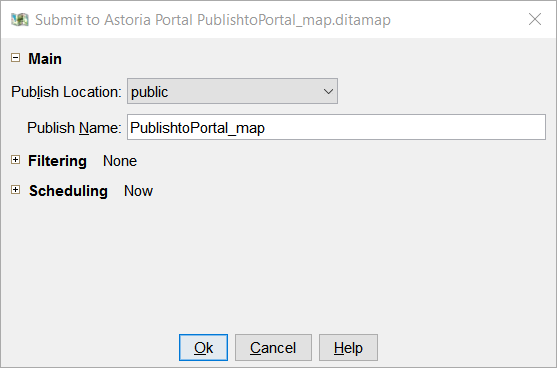
.The Submit to Astoria Portal dialog appears.
 Note: The Zoomin Portal doesn’t use the Publish to Astoria Portal command. Instead, when the Zoomin Portal is configured, a plugin to the DITA Open Toolkit is installed. Issue the Compose with DITA-OT command and select that plugin in the Compose Output dialog.
The selected map is published to the Astoria Portal. If you specify a snapshot label in the Filtering option, the Publish Name is appended with the snapshot label text.
Note: If your system is configured to publish to the DITAweb portal, you can check the progress of the Publish operation in the Event Queue Definitions by selecting xdBatchMonitor. The description shows:
Running: Exporting: cab / folder / ... / mapName
Running: Uploading: payload size: nnnnnnn
The size is in bytes. You must refresh the Details view to see changes in the description.
You will receive an email notification when the Publish operation is complete.