Updating an oXygen XML Customization

Administrators can modify an existing oXygen editor customization and upload it into the repository to make it available to the oXygen editor and Astoria users.

  1. Start with the css frameworks folder you modified previously to upload the existing customization.
  2. Modify the style sheets to support your desired look and feel.
  3. Test the results in the oXygen editor, and make any corrections required until you are satisfied with the results.
  4. Create a Zip file of the css directory, called css.zip.
  5. In Astoria, navigate to the application cabinet icon Administration cabinet, Styles > Editors > OxygenXML > [Customization Name].
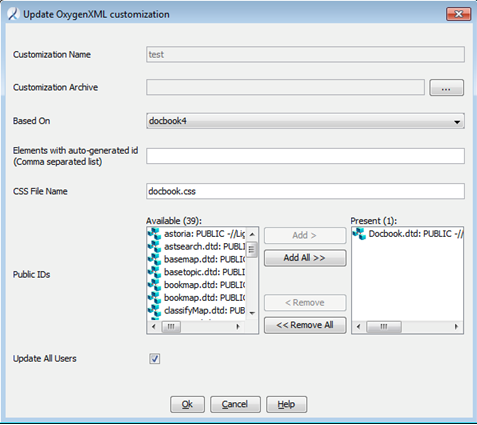
  6. Right-click the file and select Administration > Maintenance > Update Oxygen XML Customization.
    The Update Oxygen XML Customization dialog appears.


  7. Modify the fields as required.
    You can make changes to these fields:
    • Based on
    • Elements with auto-generated id
    • CSS File Name
    • Public IDs
  8. To make the update available to all users, select the Update All Users check box.
    If you do not select the check box, the updated customization is saved in the repository but not distributed to users automatically.
The customization replaces the previous file in the application cabinet icon Administration cabinet, Styles > Editors > OxygenXML > [Customization Name] and is available for the oXygen editor users to download the next time they log in to the repository through Oxygen.