An application administrator can manage the DITAweb portal destinations using the Workbench command Astoria Portal Settings.
- In the Workbench Ribbon, select the Administration tab, then select .The Astoria Portal Settings dialog appears.The dialog shows existing portal servers on the system in the left box (https://... rows). Click
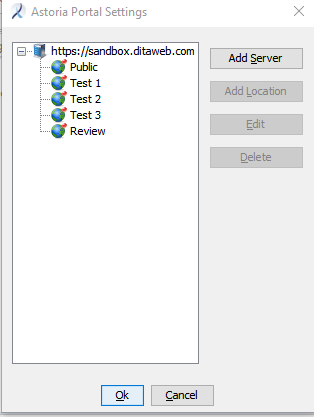
 to expand a server and show the configured locations for that server.Note: If no servers have been created, the box is empty.
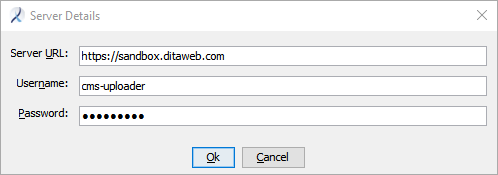
 - To add a portal server, click Add Server.The Server Details dialog appears.
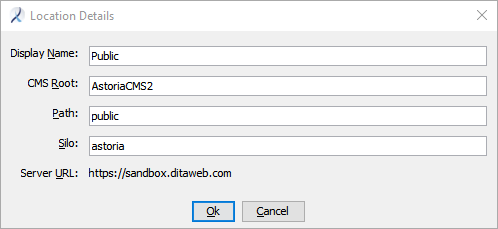
- To add a location on a portal server, select a server from the list and click Add Location.The Location Details dialog appears.
The portal settings are active and can be used to publish DITA maps to the DITAWeb server.
Verify the configuration is correct by right-clicking a DITA map and selecting . Ensure the Publish Location choices are as expected.