This task describes how an administrator can specify autodetection of a proxy server for outbound network access, or to hard-code proxy settings.
Normally, the configuration of a proxy server is
done automatically for users through settings in the Web Browser. The Workbench and
WAN Editors typically respect these settings if the Autodetect Proxy check box is selected. However, rarely a user
may need to hard-code proxy settings for Astoria WAN applications. The
settings made here will affect the Workbench as well as Astoria WAN Editor Bridges.
Note: Changing these settings can prevent the Workbench and the
WAN Editor Bridges from communicating with the Astoria server. If you have any
questions about these settings, contact your network
administrator.
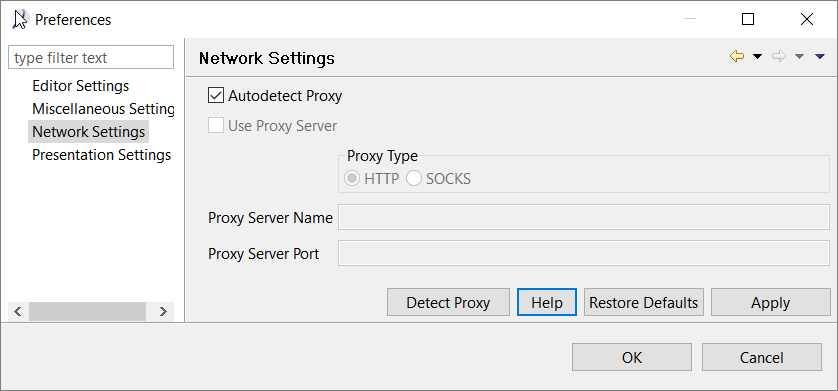
Click Detect Proxy to reveal available or used proxy server information. You can copy this information to your clipboard and use it to supply the proxy information in the dialog. If no proxy server is available, the information reports a direct connection. Click Restore Defaults to clear any proxy settings you have made and applied.
Note: To open the Preferences dialog, click the gear icon ( ) at the top right of the Workbench.
) at the top right of the Workbench. Then click Network Settings in the left column. The Network Settings dialog appears.