Installing, Launching, and Logging In to the Workbench

This task describes how to install, launch, and log in to the Workbench.

  1. To install the Workbench, go to the Astoria Landing Page in your web browser (supplied by your administrator), then click Open Workbench.
  2. In the next window, click Download Workbench.
    The installation file AstoriaWorkbenchInstall.exe is downloaded to your Downloads folder.
  3. Execute the installation file.

    When prompted, select the check box to create a desktop shortcut, if desired.

    The Workbench is installed and can be used until the server is upgraded and this version of the Workbench becomes obsolete.

  4. Launch the Astoria Workbench using one of these methods:
    • If you have created a shortcut or taskbar item, select it.
    • Use your OS Start menu and select Astoria Workbench - <server name>.
    • From the Astoria Landing Page, click Open Workbench.
    Tip: If your organization has implemented Single Sign On (SSO) for Astoria, you will not be asked to enter your credentials in the following dialog. When credentials must be supplied, you will do so using your organization's SSO identity provider which will display a form in your computer's default web browser.
    When not using SSO, the Enter Credentials dialog appears.


  5. Type your Astoria user Name Astoria Password and click OK.
    Tip: Click Hint to have your user name and a password hint emailed to you. You must have created a hint first.
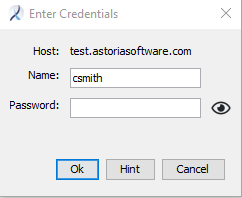
The Astoria Workbench interface appears.